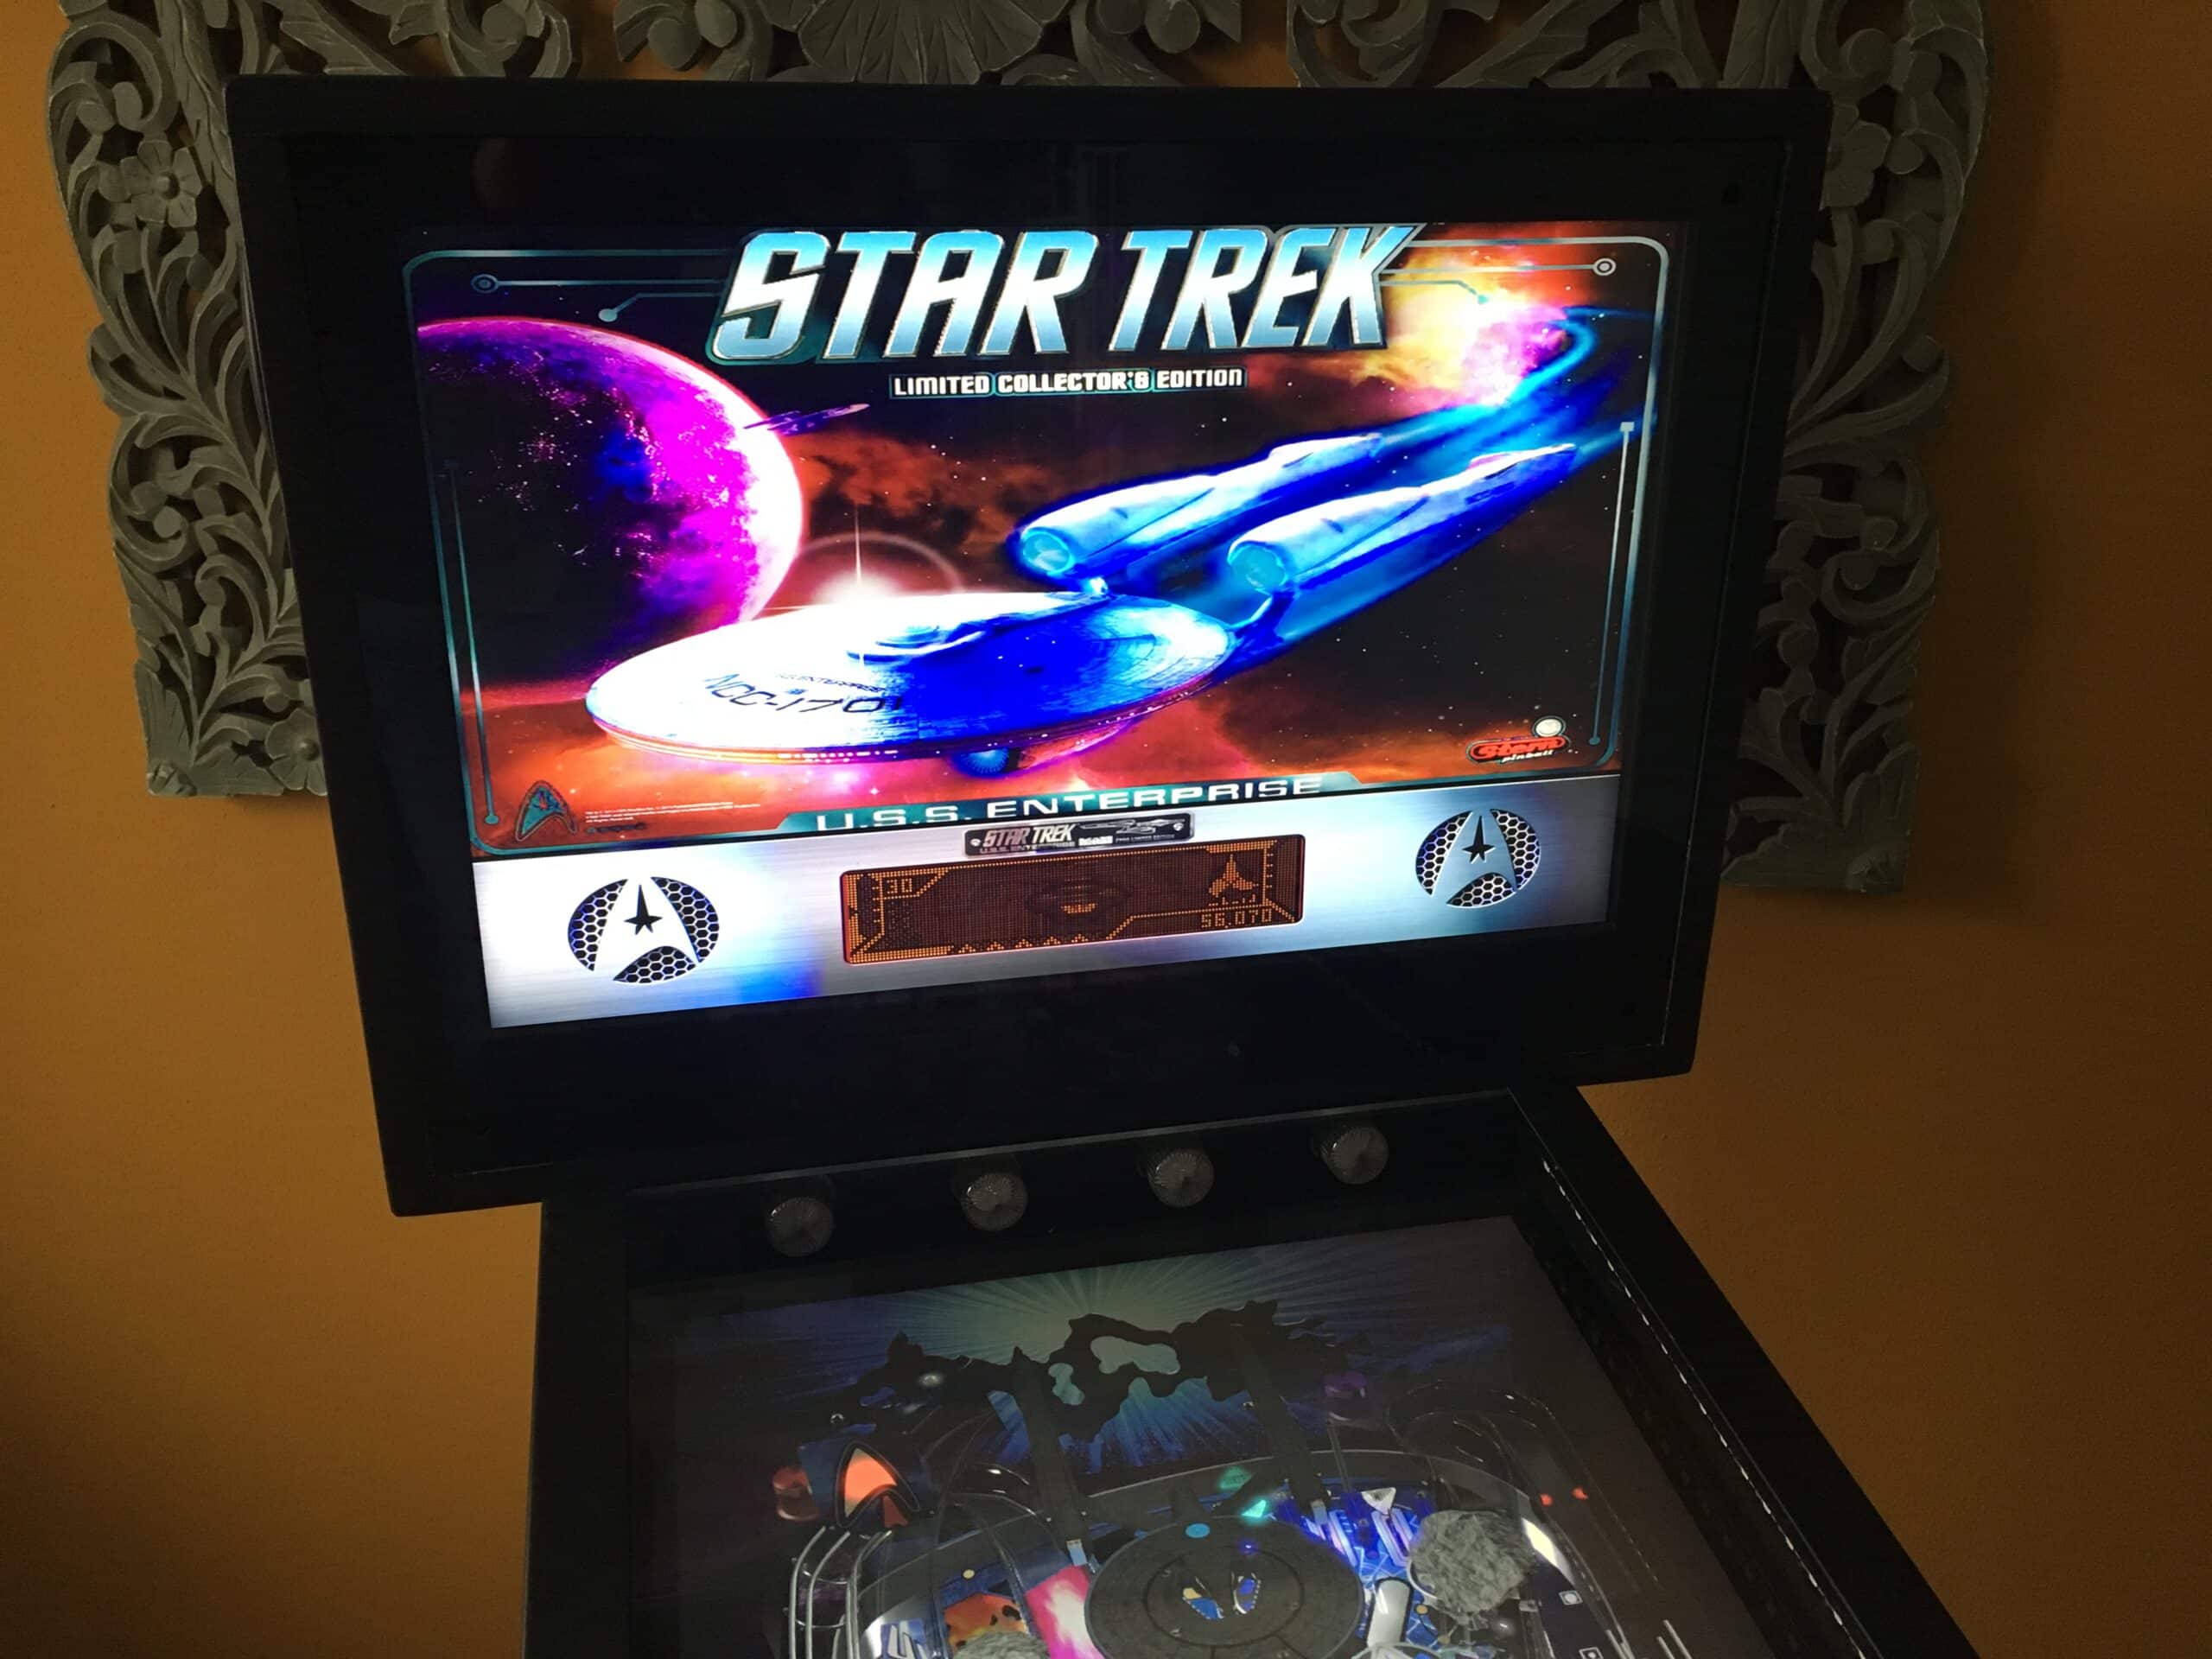
The pinball backglass is the front part of the backbox. Usually a glass panel printed with the fancy design of the pinball table, which is mounted to the front of the backbox. During gameplay, lamps behind the screen add dramatic illumination depending on the game situation.
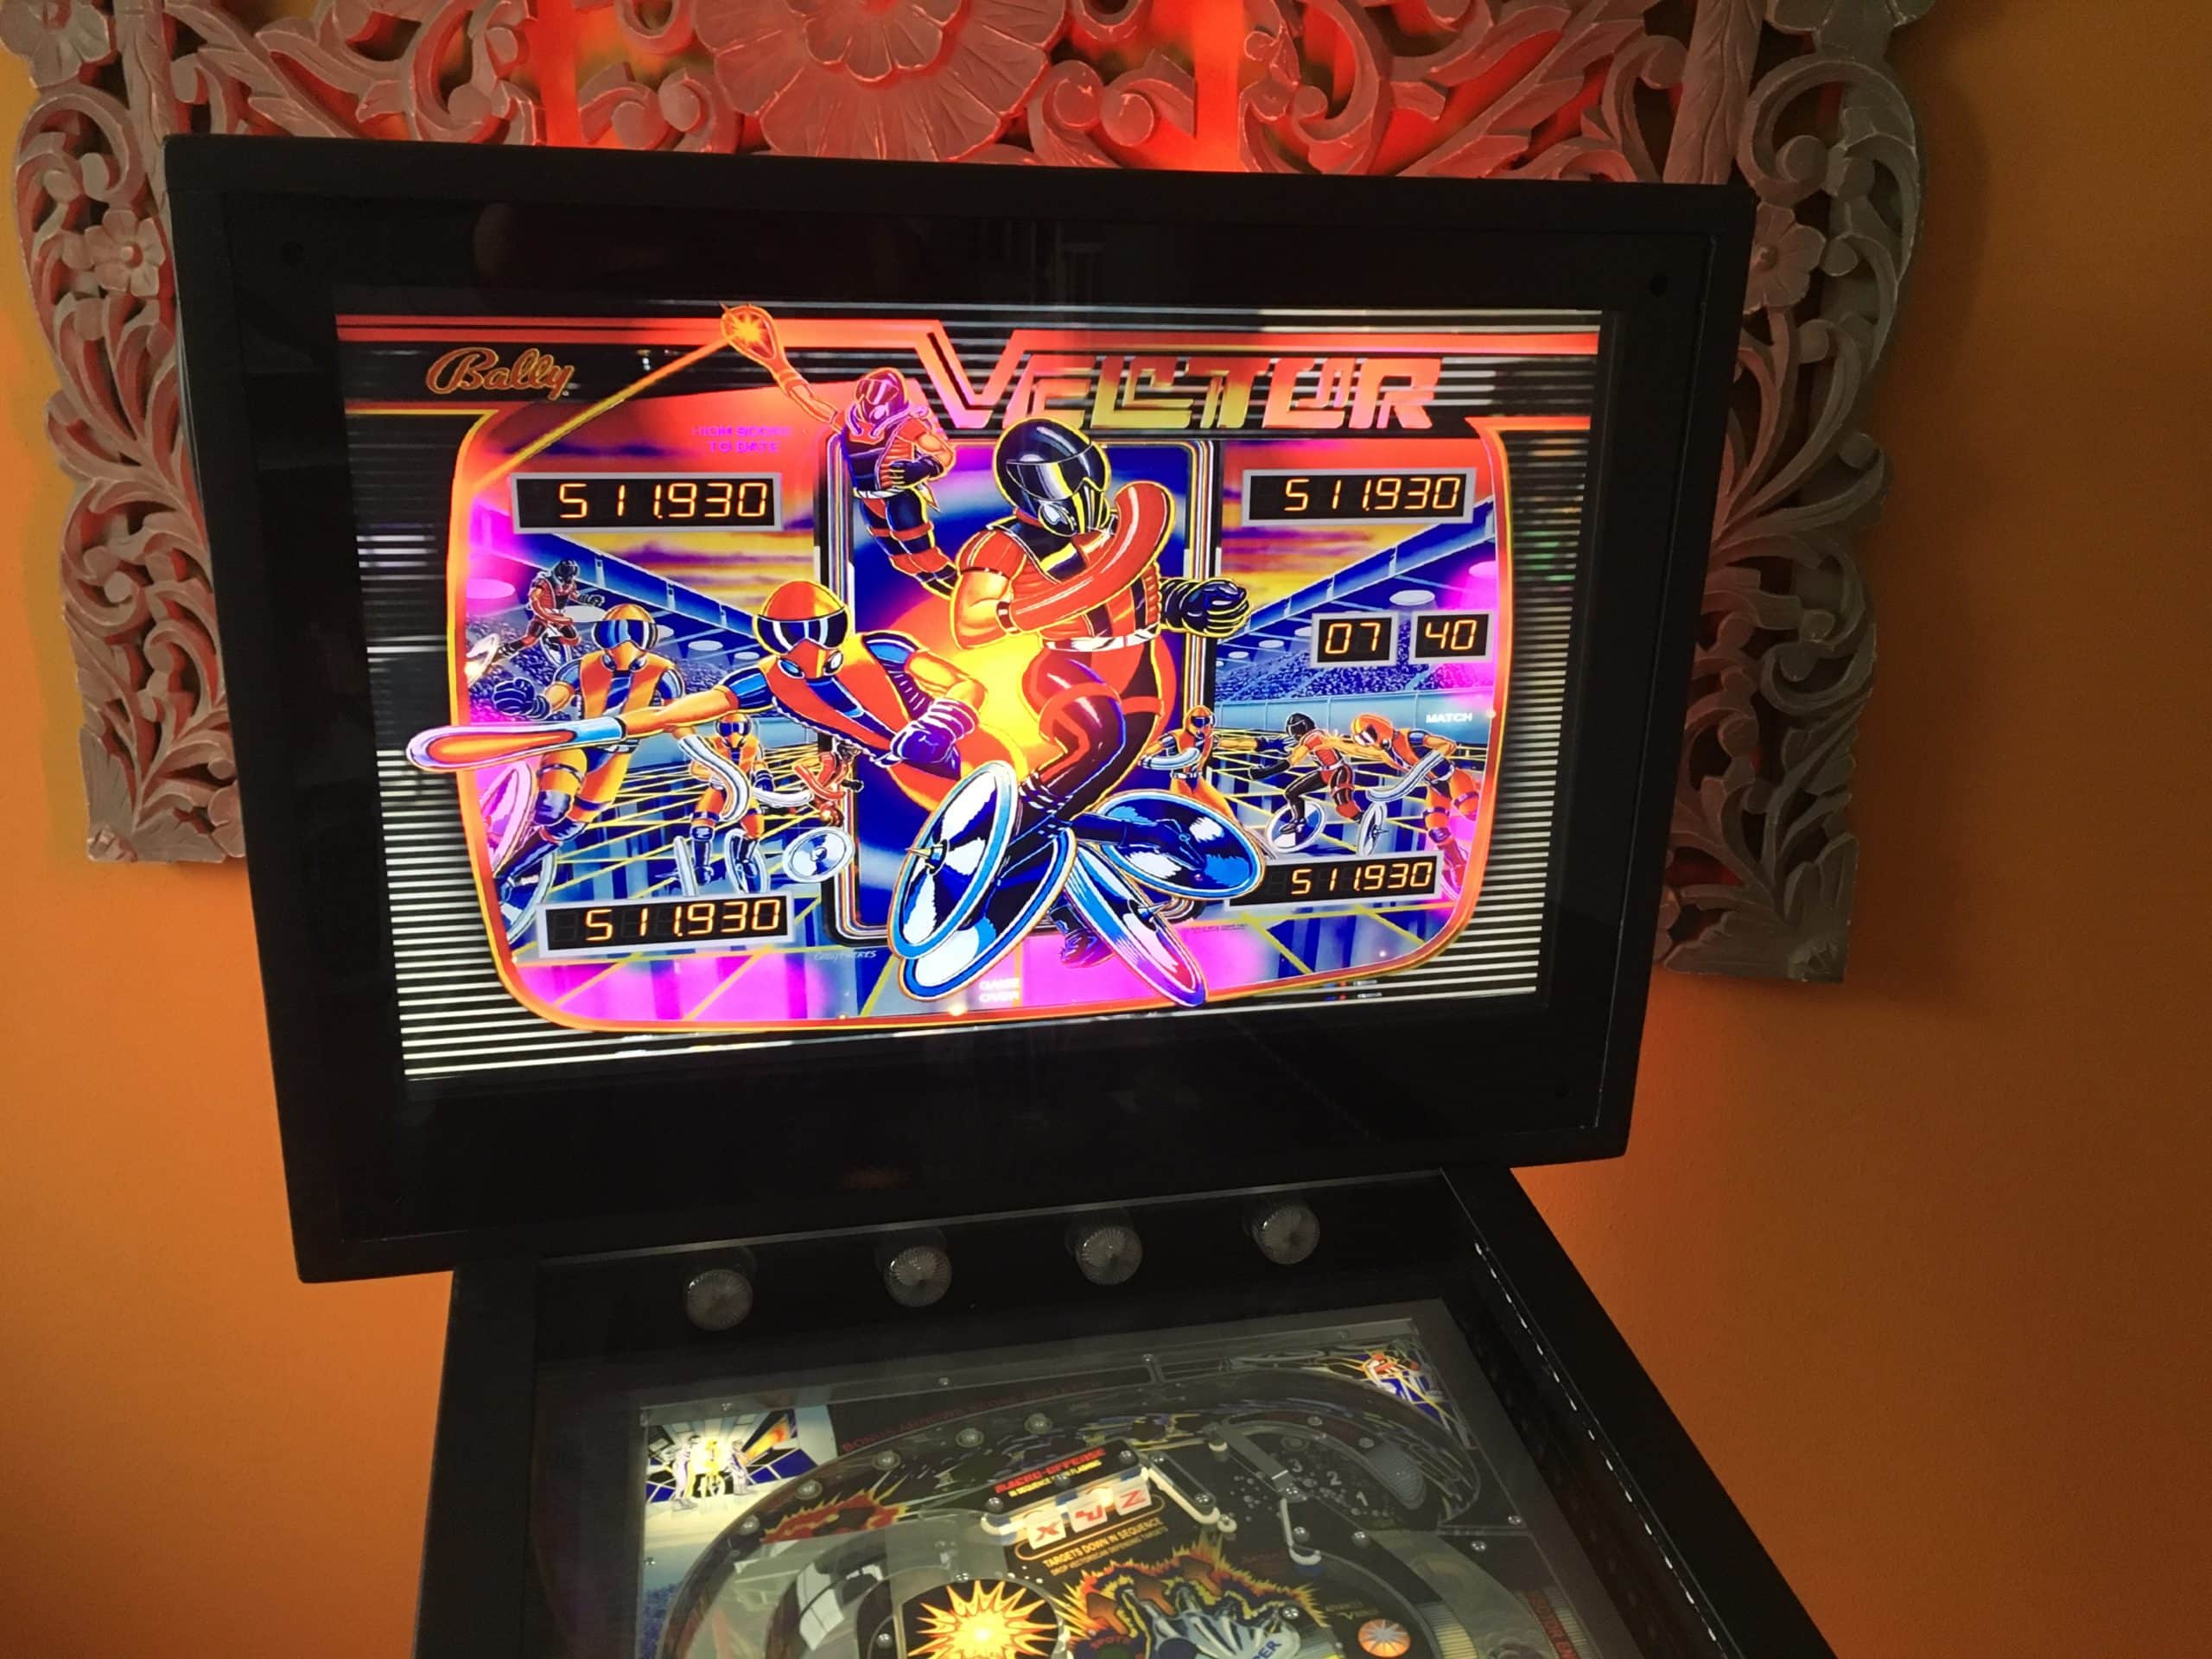
In a virtual pinball machine, there is a monitor in the backbox who does all the showing off. Therefore, all you need is a sheet of transparent glass or plexiglass mounted on top of the backbox monitor for protection and optics.
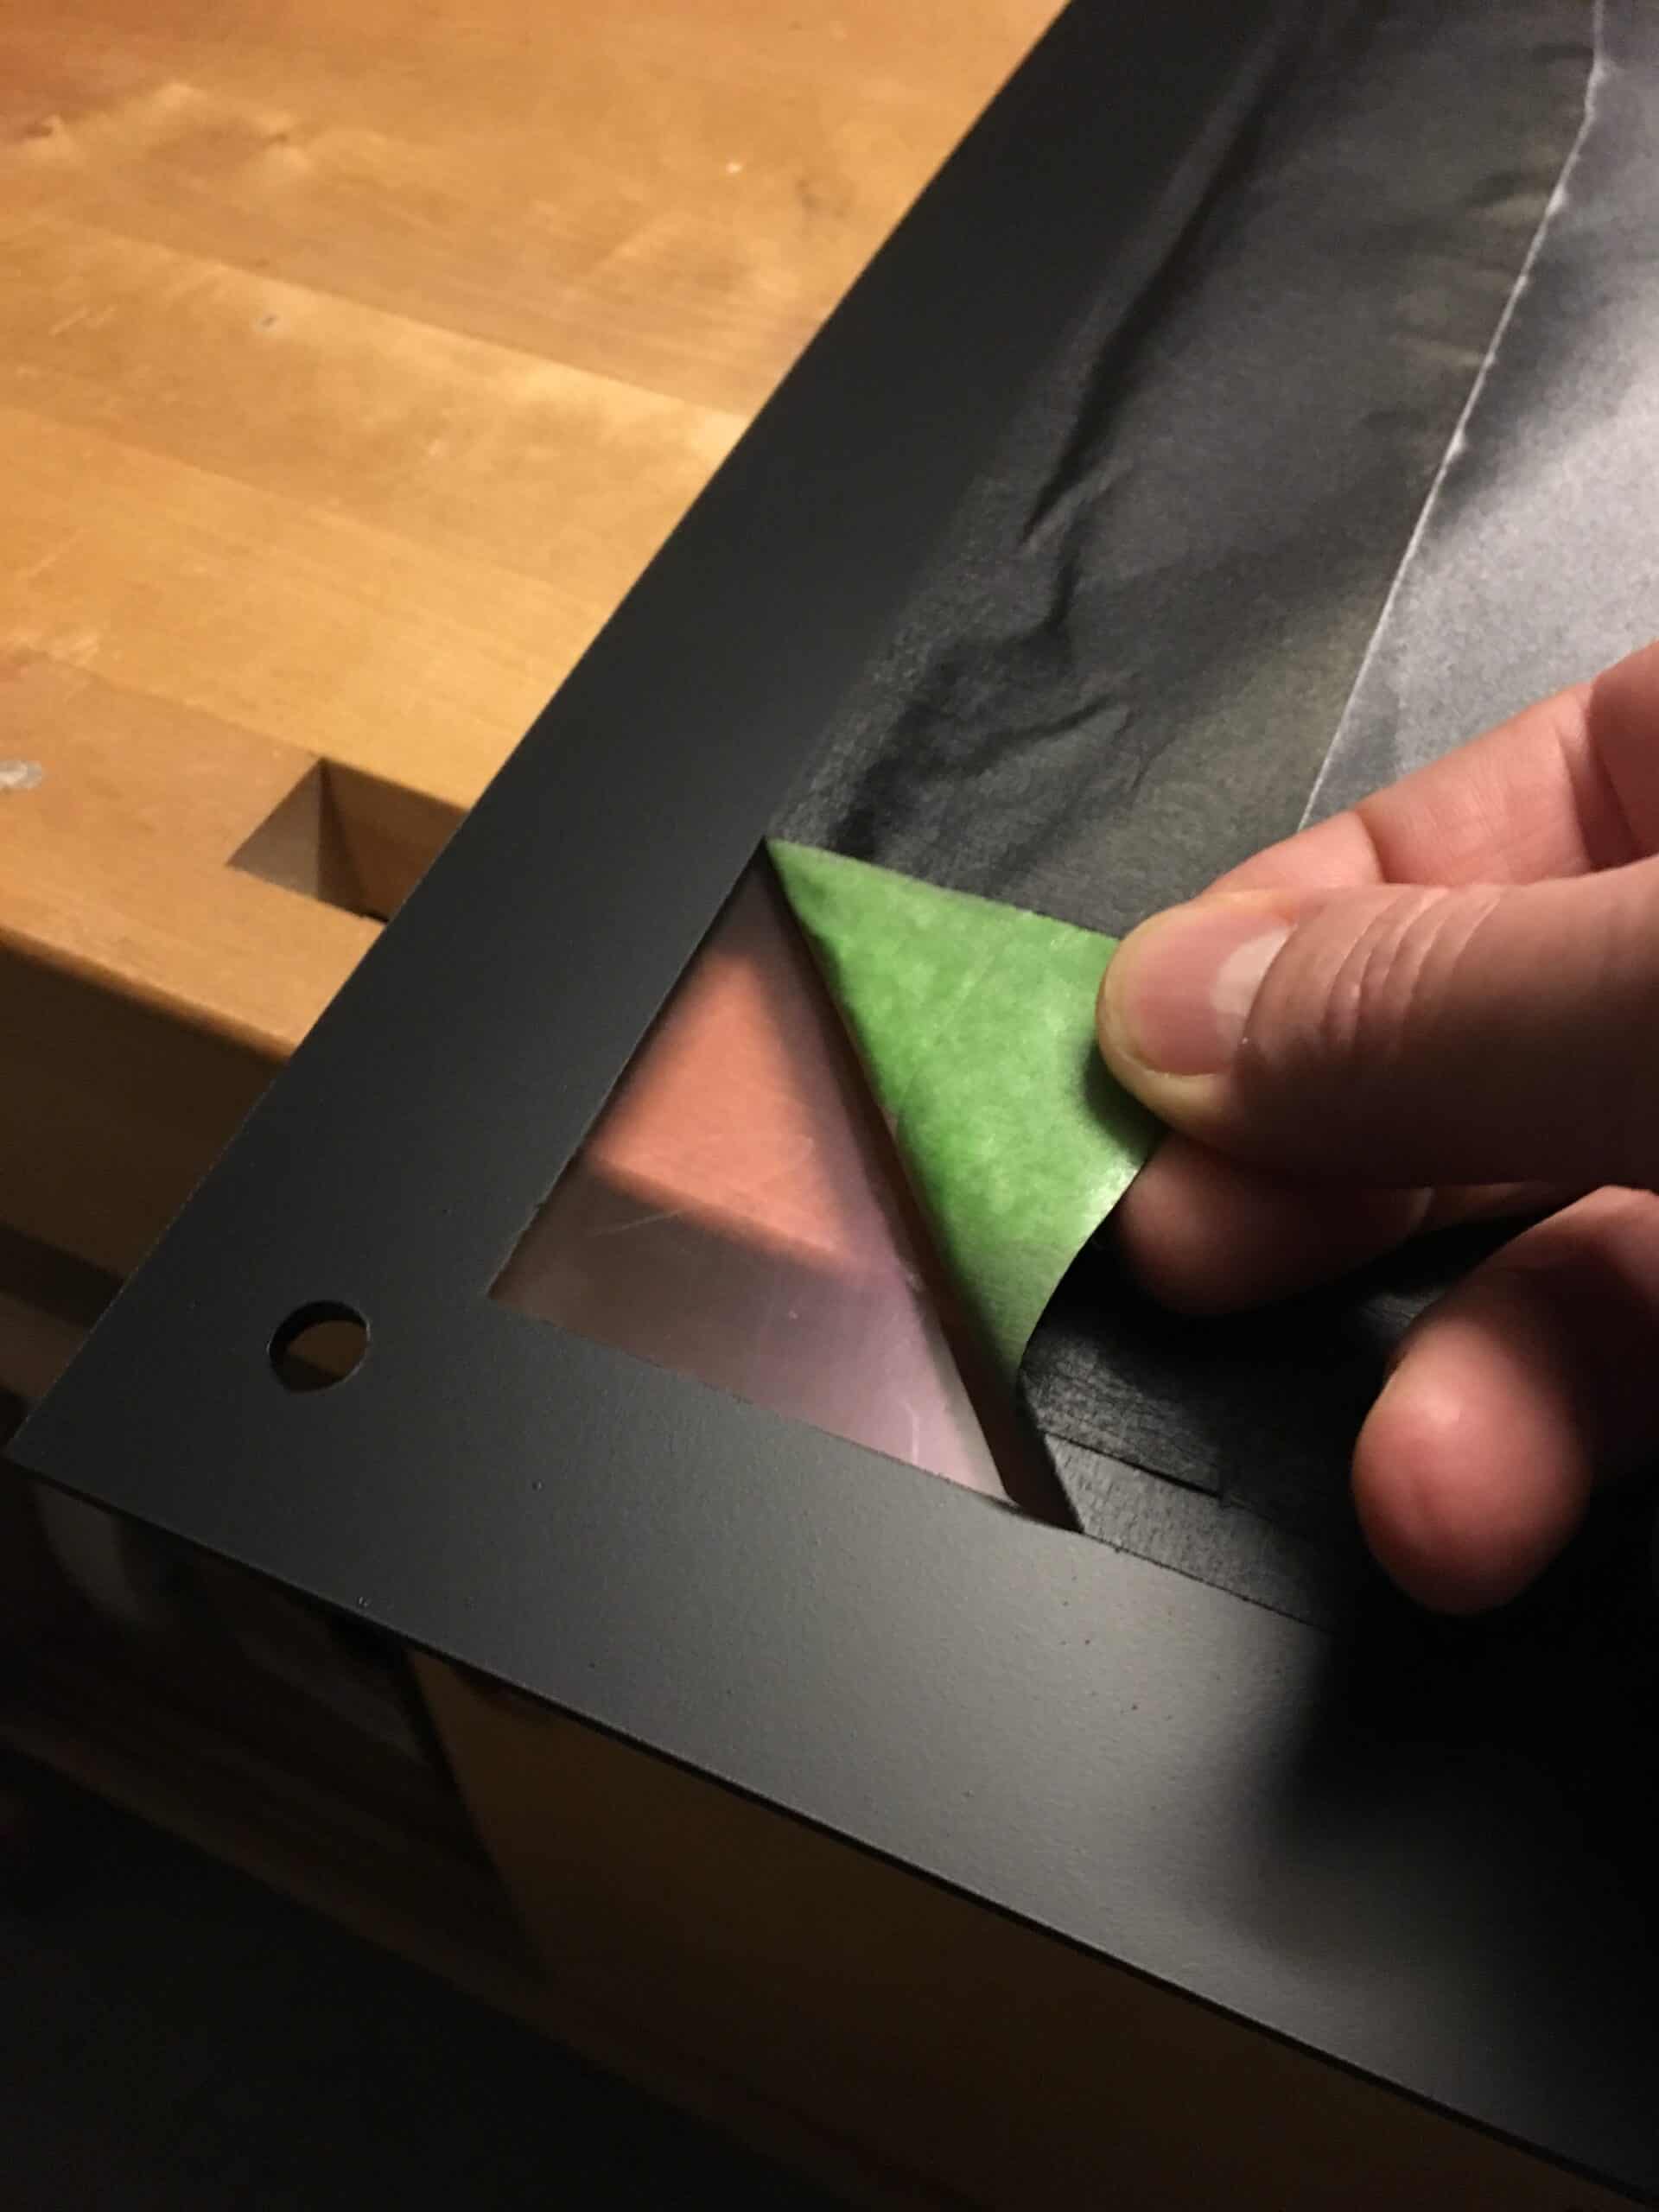
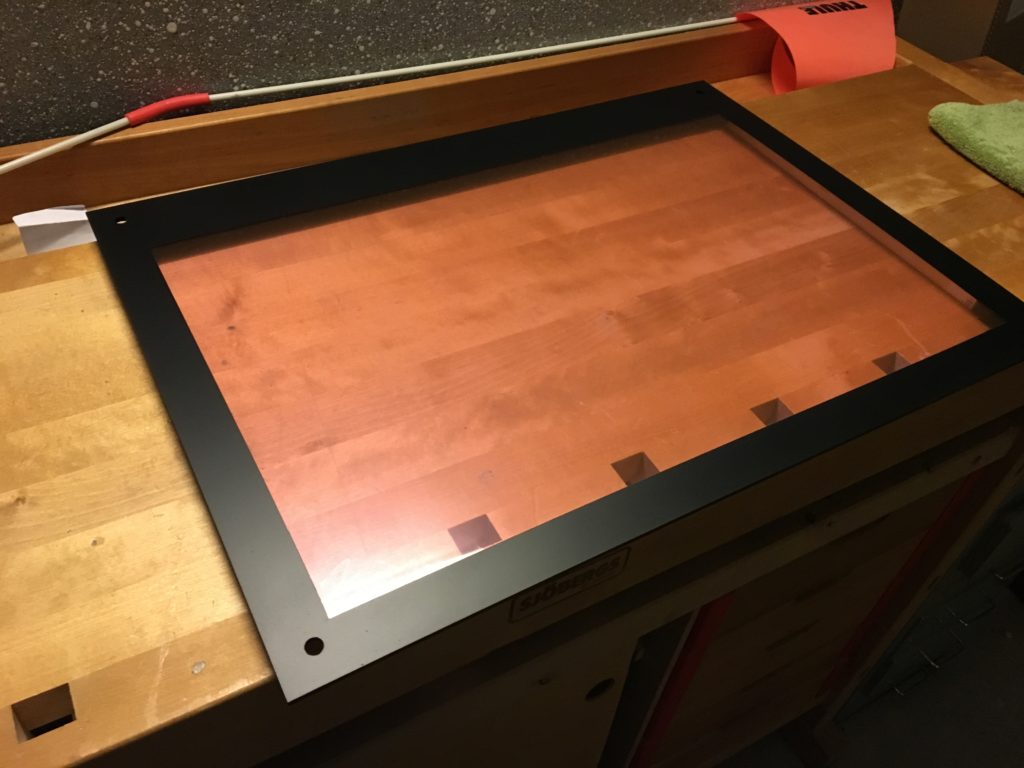
I used a 4mm thick, transparent plexiglass sheet. The front cover has a scratch protection layer for safety: PLEXIGLAS® scratch-resistant Optical HC 4mm, size: 57.3 cm x 41.3cm.
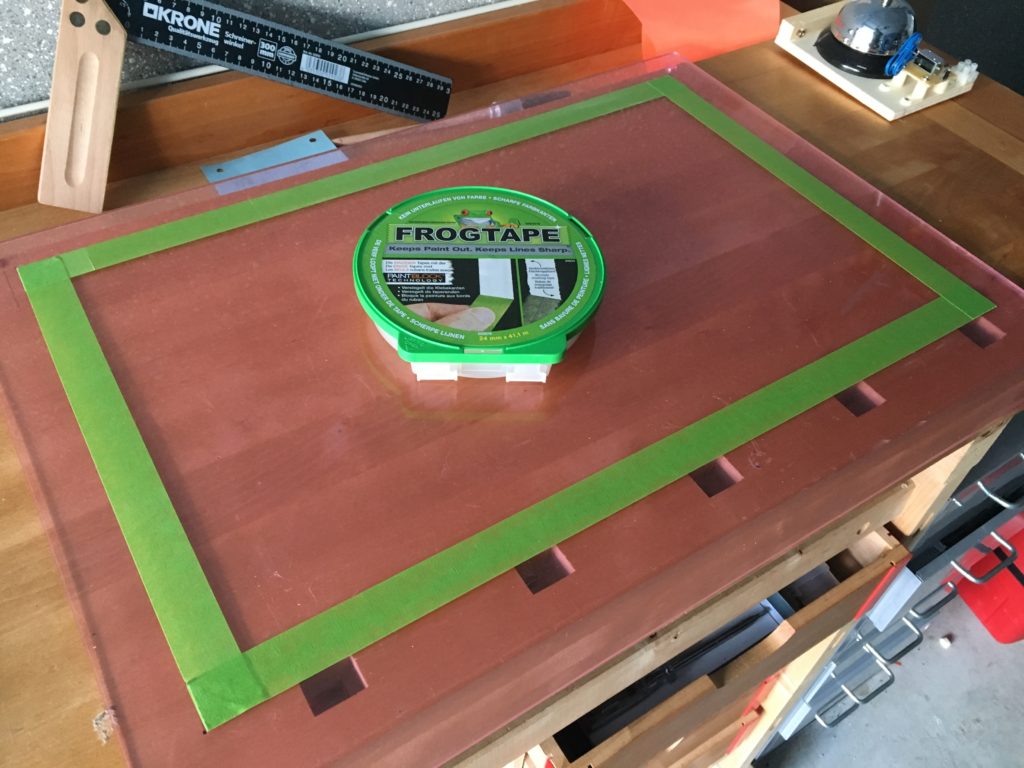
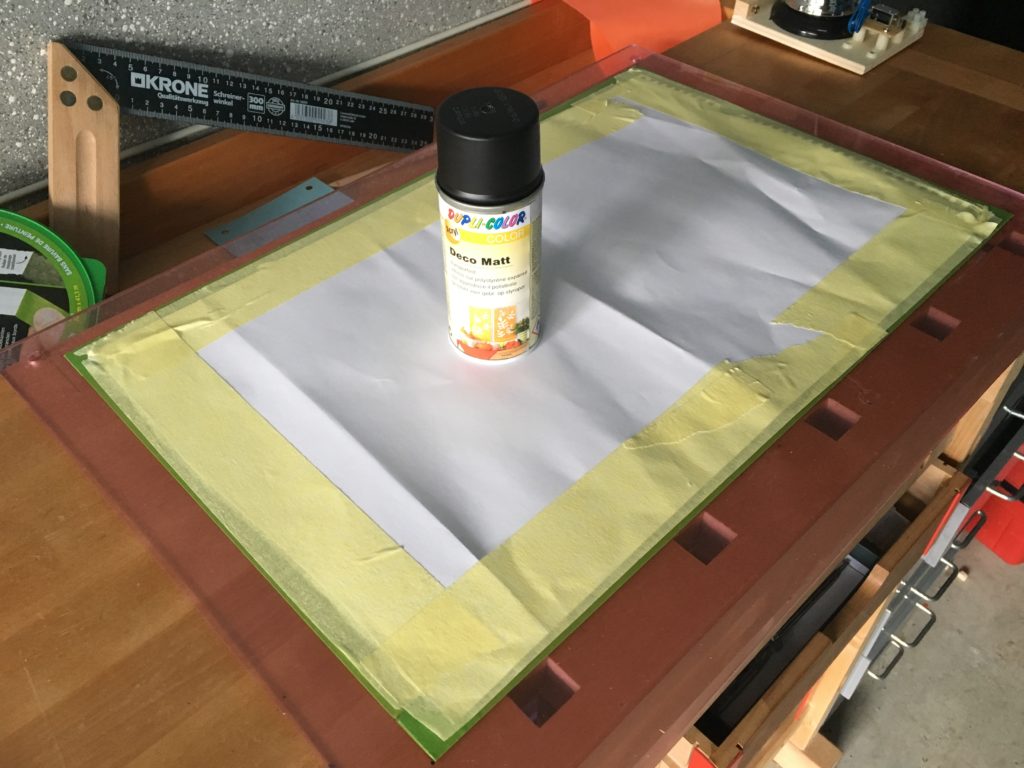
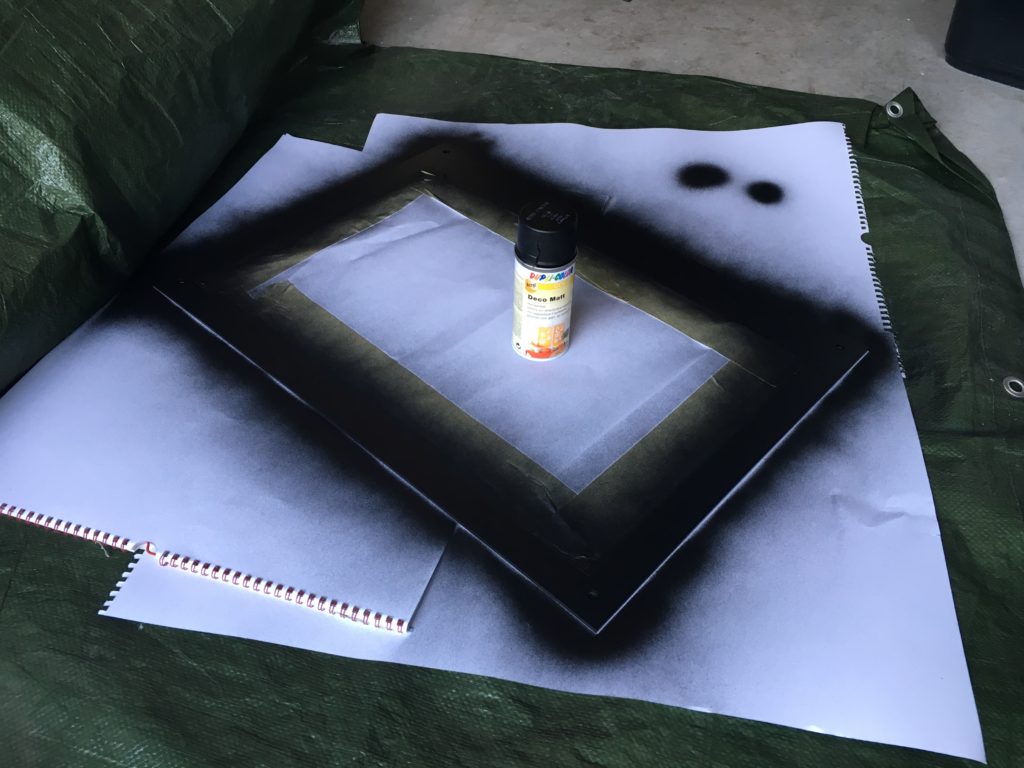
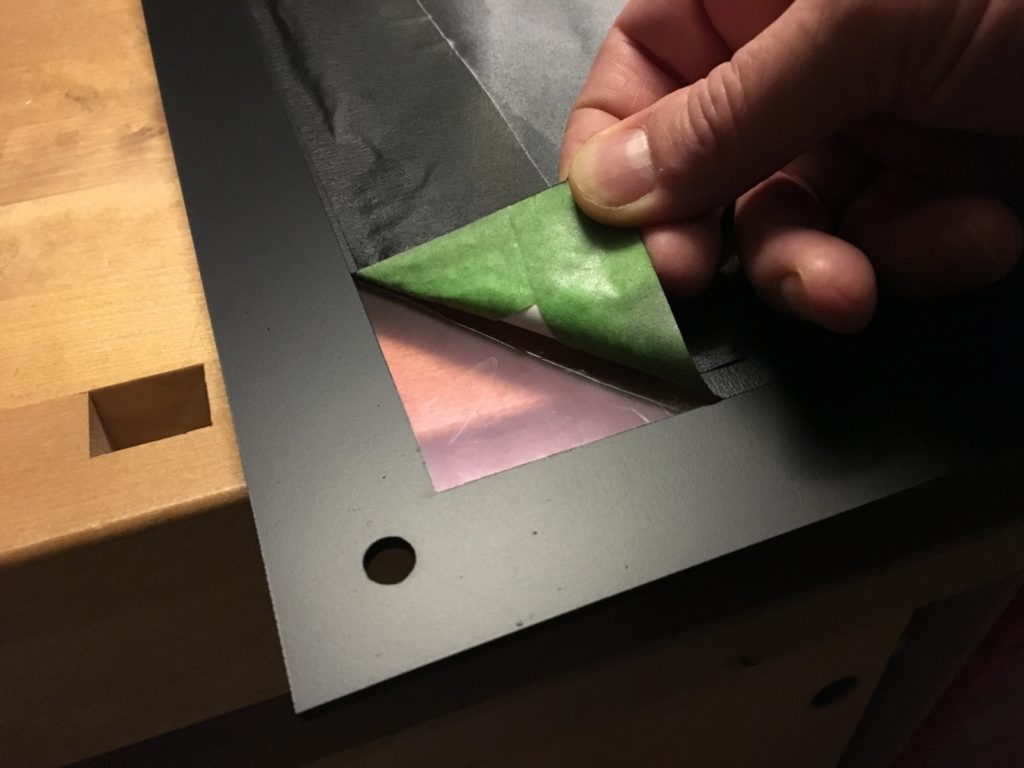
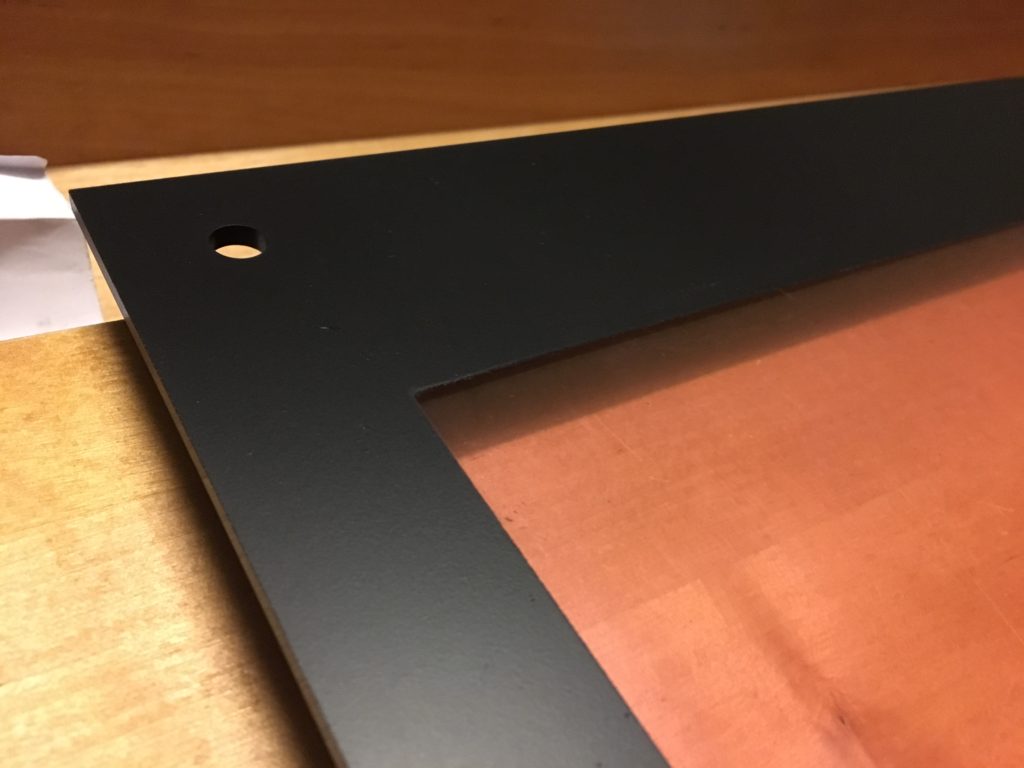
I applied the frame with an acrylic spray black, matte: First the protective film of the sheet was peeled off on one side, everything neatly taped off and then sprayed with several thin layers of black color.

Next Part:
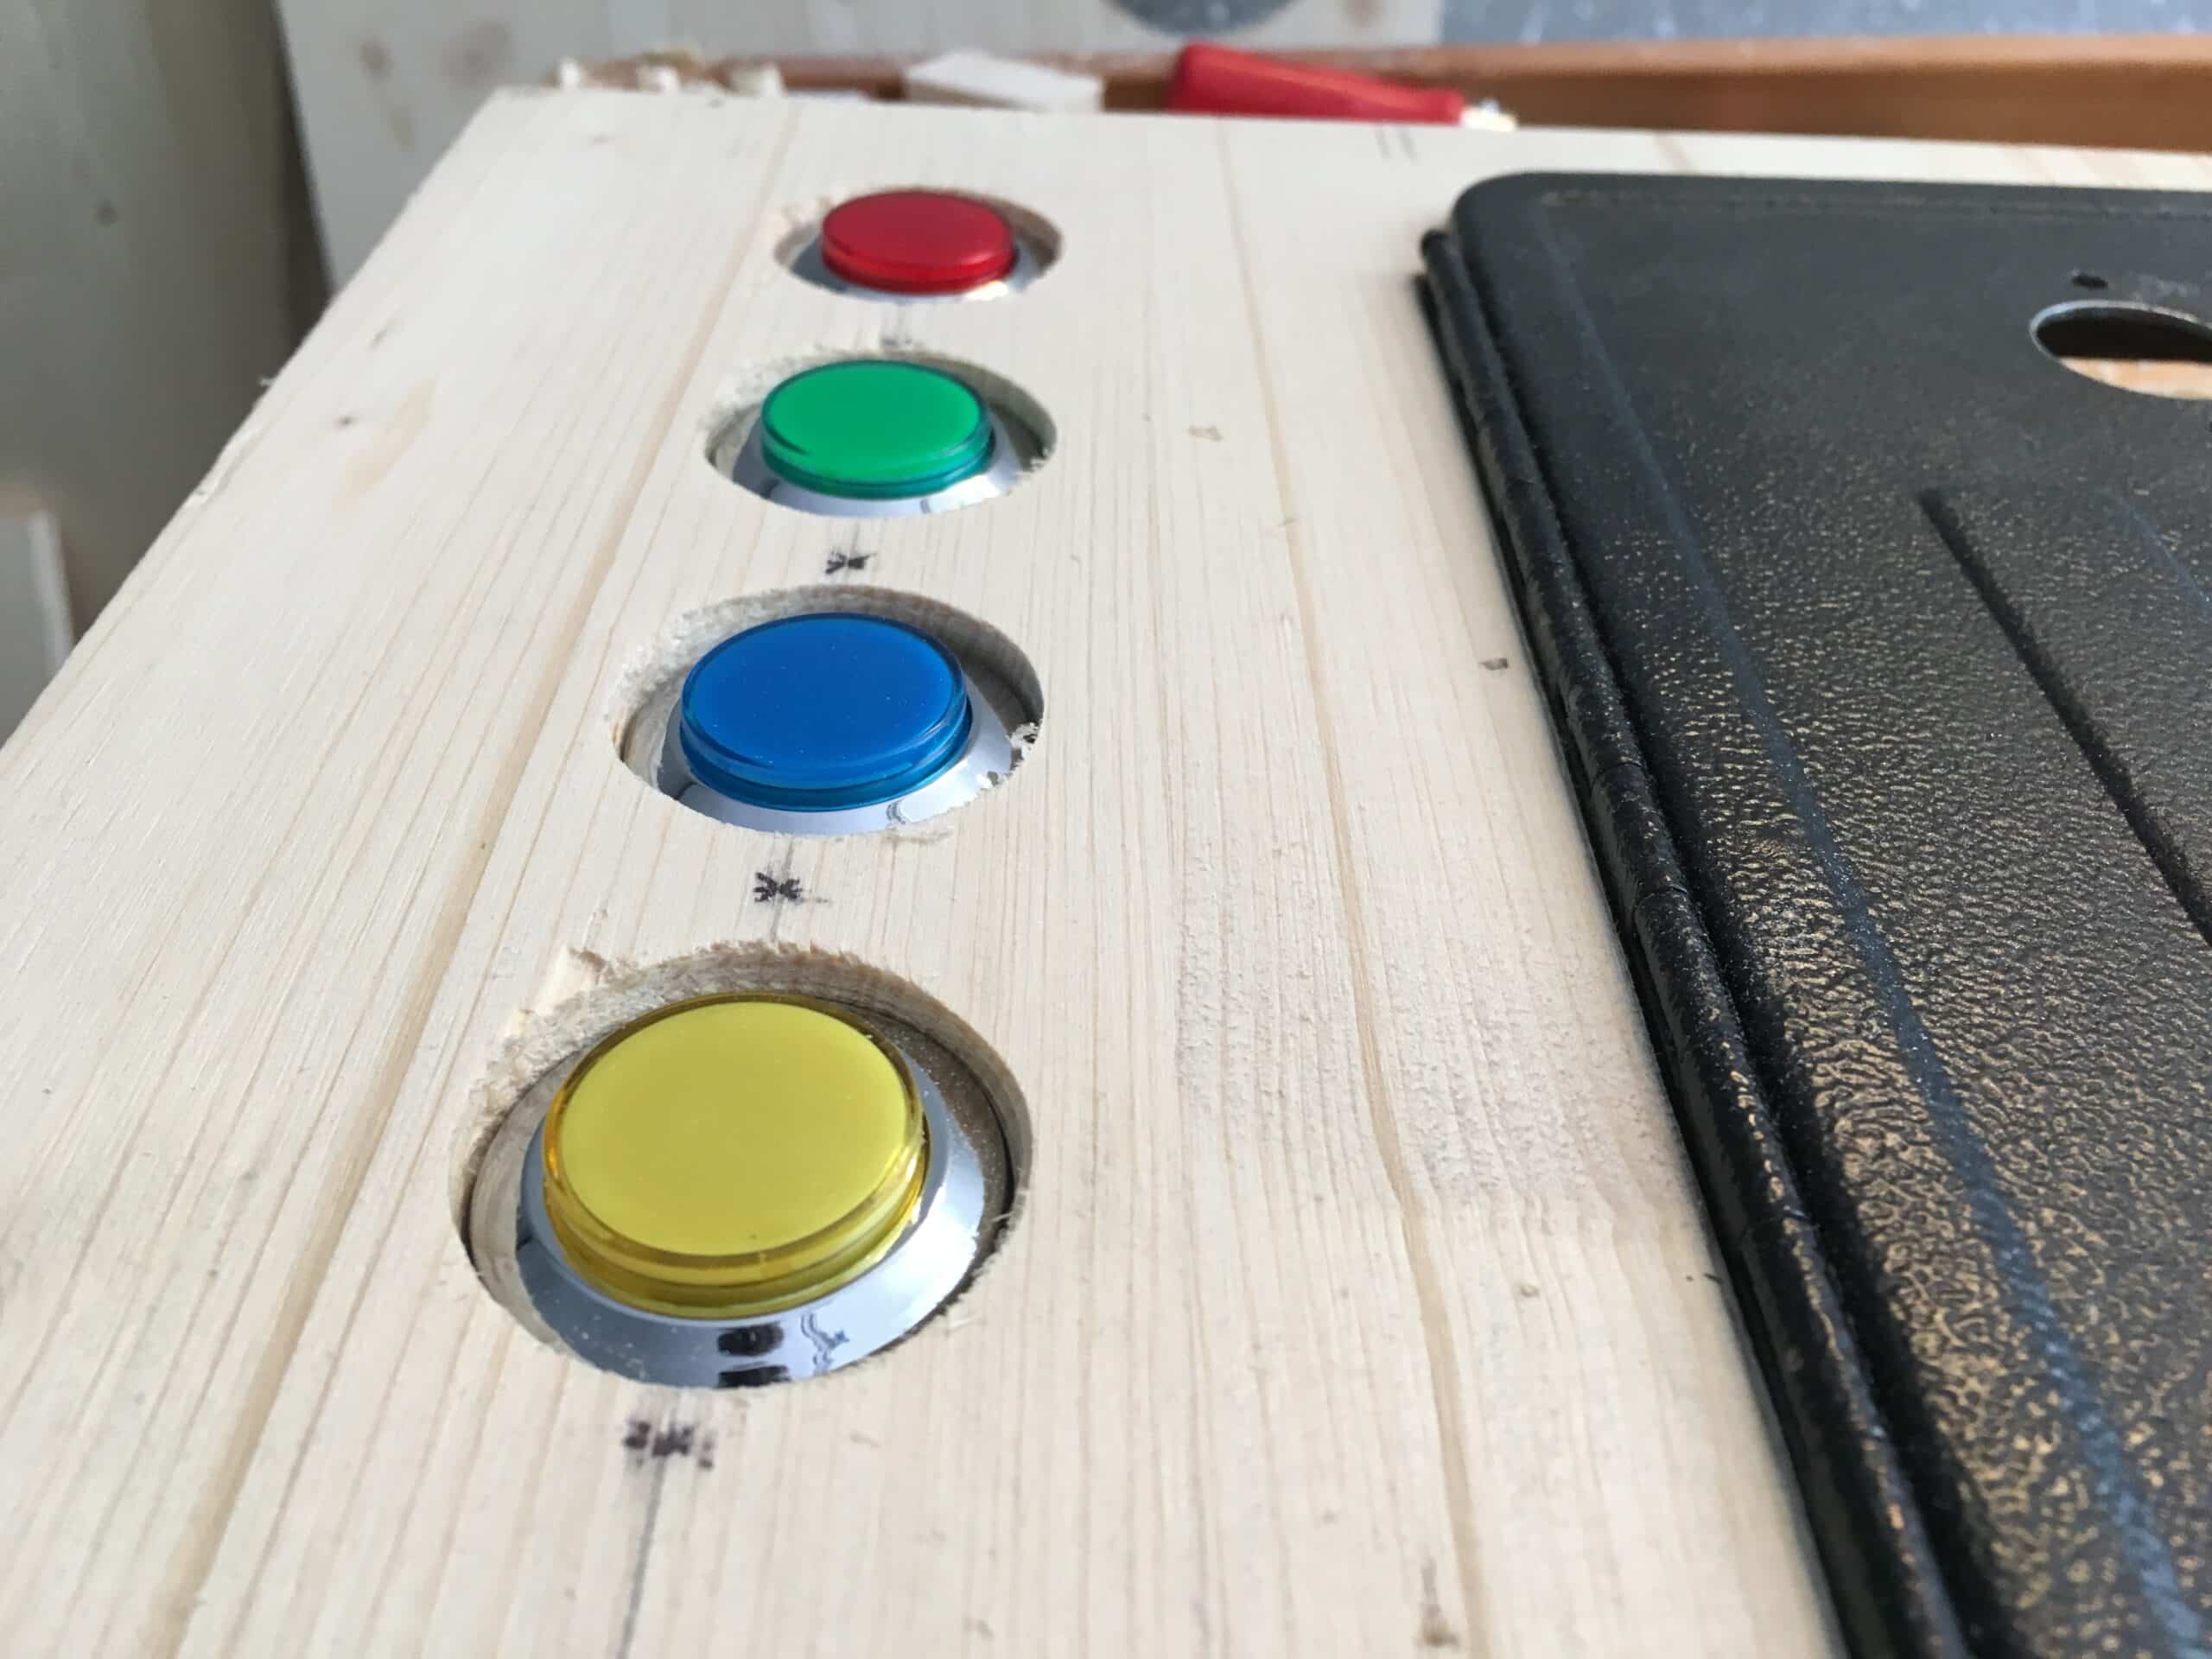
Part 4: Buttons, controller boards and wiring in a Virtual Pinball machine…

Comments (1)
Part 1: Building a virtual pinball cabinet (VPIN) - virtual-pinball-cabinet.comsays:
29/04/2019 at 20:17[…] buy the Playfield-Monitor and Backbox-Monitor first, even the DMD-Screen, measure, measure again and start from here. Plan your pinball cabinet […]